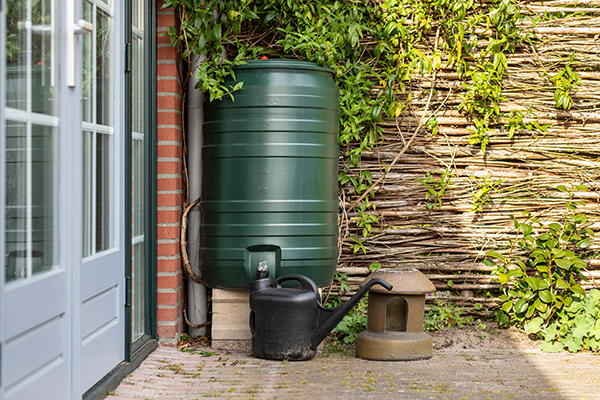
A gravity-fed water system is used to pull water from creeks, rain barrels, springs, streams and rivers upstream or uphill from the water source.
Gravity-fed water systems are simple, but you may have trouble using them under certain conditions:
- The distance the water has to flow to reach its destination point.
- The slope of the incline that determines how fast and how easy the water flows.
- The size of the pipes you use and if they have to interchange.
- The number of side extensions that will be used?
- The type of terrain the system is used to.
The guide for this gravity-fed, off-grid water system is from "The Doable Off-Grid Homestead," an off-grid reference book.
DIY gravity-fed water system
Before setting up your gravity-fed water system, plan ahead and build a high enough roof so that the bottom of the tank is above your water input level, like your sink or bathtub.
You will need:
- Dirt
- Drill
- Level
- 12 to 14 grade stakes
- 1/4-inch (6-mm) thick plywood
- 1/2-inch (13-mm) screws
- 3/8-inch (9.5-mm) rebar
- 20 to 25 (80-lb [40-kg]) bags or ready-mix concrete
- 1,500 to 3,000-gallon (5,678 to 11,356-L) water tank
- Solar water pump, optional
Creating the platform for the tank
Build your water tower at a slightly higher elevation than where the water output is going, like the kitchen sink. When deciding how high to elevate the tank, keep in mind that the tank must be below the level of your roofline if you are directly catching rainwater into it.
You should also check your water pressure requirements. If you have fairly low water pressure, you can fill containers fairly quickly by using a larger-volume pipe. If this is something you want to try, you can reduce your water tower height considerably.
Level the dirt pile out and prepare a form by staking out a circle that is at least six to 12 inches (15.2 to 30.4 cm) wider in diameter than your tank. Pound in the stakes around the outside of this circle.
Cut the plywood into strips, six inches (15.2 cm) tall. Shape these inside the stakes to form the outer edge of the circle.
Screw the plywood into the stakes so that the tops of the plywood strips are level. Add rebar for extra strength if you want to.
Next, mix the concrete. Follow the manufacturer's instructions and pour a smooth, level slab inside the form.
Let the concrete dry and cure completely before moving the empty water tank to the platform. Protect the hill from erosion and the tank from sun exposure by placing a small roofline over this tank.
If you have a pump-assisted gravity-fed water system, install a solar-powered water pump. Use this to pump water from other catchment tanks up to the elevated tank when the upper tank runs out of water.
Piping the water into the house
Run a 3/4-inch (19-mm) PVC pipe from the water tank to your laundry sink faucet. You can also conserve water by setting up a regular faucet in the kitchen sink that is suitable for handwashing due to its low flow rate. (Related: 4 Tips to prevent emergency water from freezing.)
For a smaller-scale water tower, create a 12-foot (3.6-m) platform using 4x4s. Elevate one or two 55-gallon (208-L) food-grade plastic drums and pump or manually move water to these drums every few days.
With this setup, whether you have a large volume water tank or a 55-gallon drum, it should be able to provide gravity-fed water in a sink or two.
This system takes a while to set up, but it’s worth it if you want to save time and effort hauling water from a water source to your home.
Make it easier to haul water on your homestead by setting up a gravity-fed water system.
Watch the video below for tips on how to control seasonal runoff on your homestead.
This video is from the Vermont Rocky Meadow Farm channel on Brighteon.com.
More related stories:
Prepping 101: How to store water for emergency preparedness.
Water supply and prepping: A beginner’s guide to rainwater collection.
Prepping 101: How long will bottled water last in your stockpile?
Sources include:
Please contact us for more information.


