(Homesteading.news) It’s a fact that you’ll never be as self-sufficient as you want to be without knowing some basic carpentry skills. With some practice and the right tools, it really isn’t that difficult to learn them, either, and what’s more, you’re going to be awfully proud of the things you can build, fix and upgrade once you learn some fundamental carpentry skills.
Knowing your tools is fundamental, of course, but you won’t really know them right off the bat, so get to know the various carpentry tools you’re likely to need here.
Now, it might be hard to resist the temptation to just run out and buy a bunch of different carpentry tools, but for the purposes of this particular article, we thought it best to just hit the basic stuff you’ll going to use the most often.
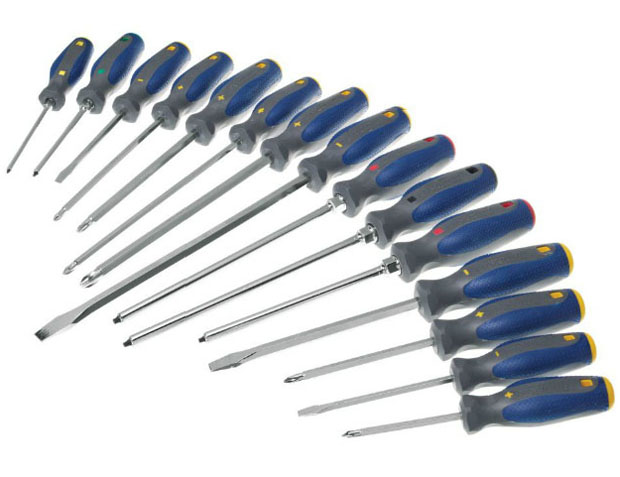
— Screwdriver set: A good set will consist of both Phillip’s head and flathead screwdrivers of different tip sizes and different tool lengths. Get a good quality set so it will hold up better and last longer. Tip: You should also consider a power drill and screwdriver tip set of various sizes.

— Measuring: A good tape measure that is at least 25 feet will do. It should be sturdy/heavy duty and have tape-locking capability (to lock the tape measure in to a certain length without it automatically rolling back up again). Tip: Also consider a folding tape measure; these are very handy! Understand that a good measurement is needed to ensure that you don’t cut a piece of wood too short (or not short enough, though the former is worse because you’ll likely end up with a piece of wood you can’t use for anything else).

— Hammer: A good, sturdy hammer will prove its worth in gold.

— Saws: Here, it might behoove you to get a power saw, especially if you plan on working a lot with wood. Handsaws are valuable and you should have at least two good ones – one of standard length and another of shorter length – but a power saw will (pardon the pun) cut project times dramatically. Make sure you practice using it, however, because obvious it can be a dangerous tool to use. Go to your local lumberyard and see if you can get some wood scraps to practice with. Here’s a good instructional video to watch that demonstrates a power saw’s features and how to use it:

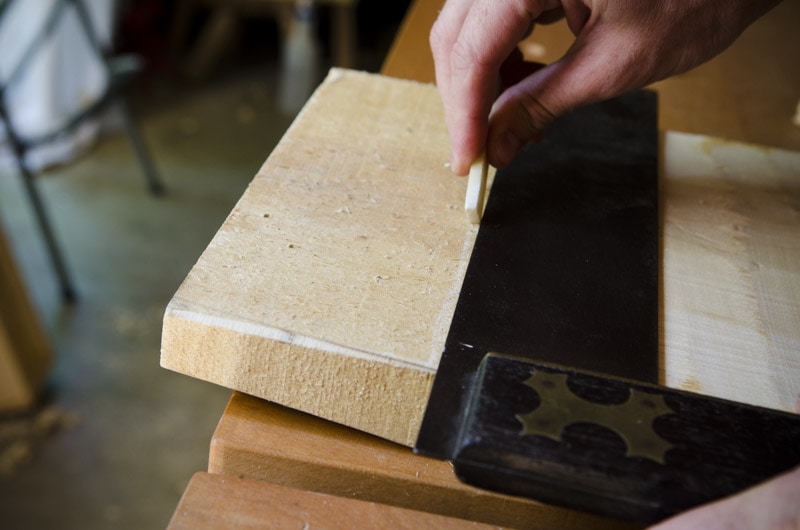
— Mark the cut: Measuring is important but so is marking where to cut the board. There are actually a few tricks to learning how to do this more accurately; click here for a short tutorial.

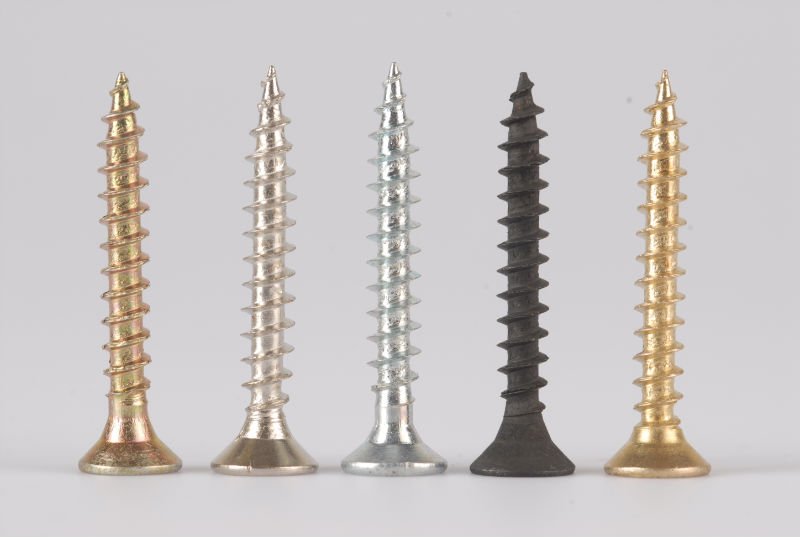
— Nails/screws: There are many different types of screws and nails and most are for a specific purpose. Finishing nails, for instance, are very slim and short, while standard construction nails are about 3” long, thick and sturdy. The type of job will determine the type of nail. Oh, and hammering nails is a) more difficult than it looks; and b) a very physical endeavor, so eat a good breakfast before starting! Just remember to be patient; with practice driving a nail into place will get much easier.

— Level it: Often is the time you’re going to need a good level to ensure your finished product is, well, level and straight. There are a couple of different types of levels but you’ll use just a standard three-bubble-tube level much more than the other types.

— Measuring angle: If you’re building things with 90-degree angles, like a raised garden bed, this will be one of the handiest tools in your toolkit. One of these will make putting up a wall or building a box much easier and faster.
— Cutting box: These come in very handy if you have to cut a piece of wood at an angle. Note the saw.

So, are you ready for your first project? Check out this simple design for a raised garden bed (under $15!).
Homesteading.news is part of the USA Features Media network of sites.


